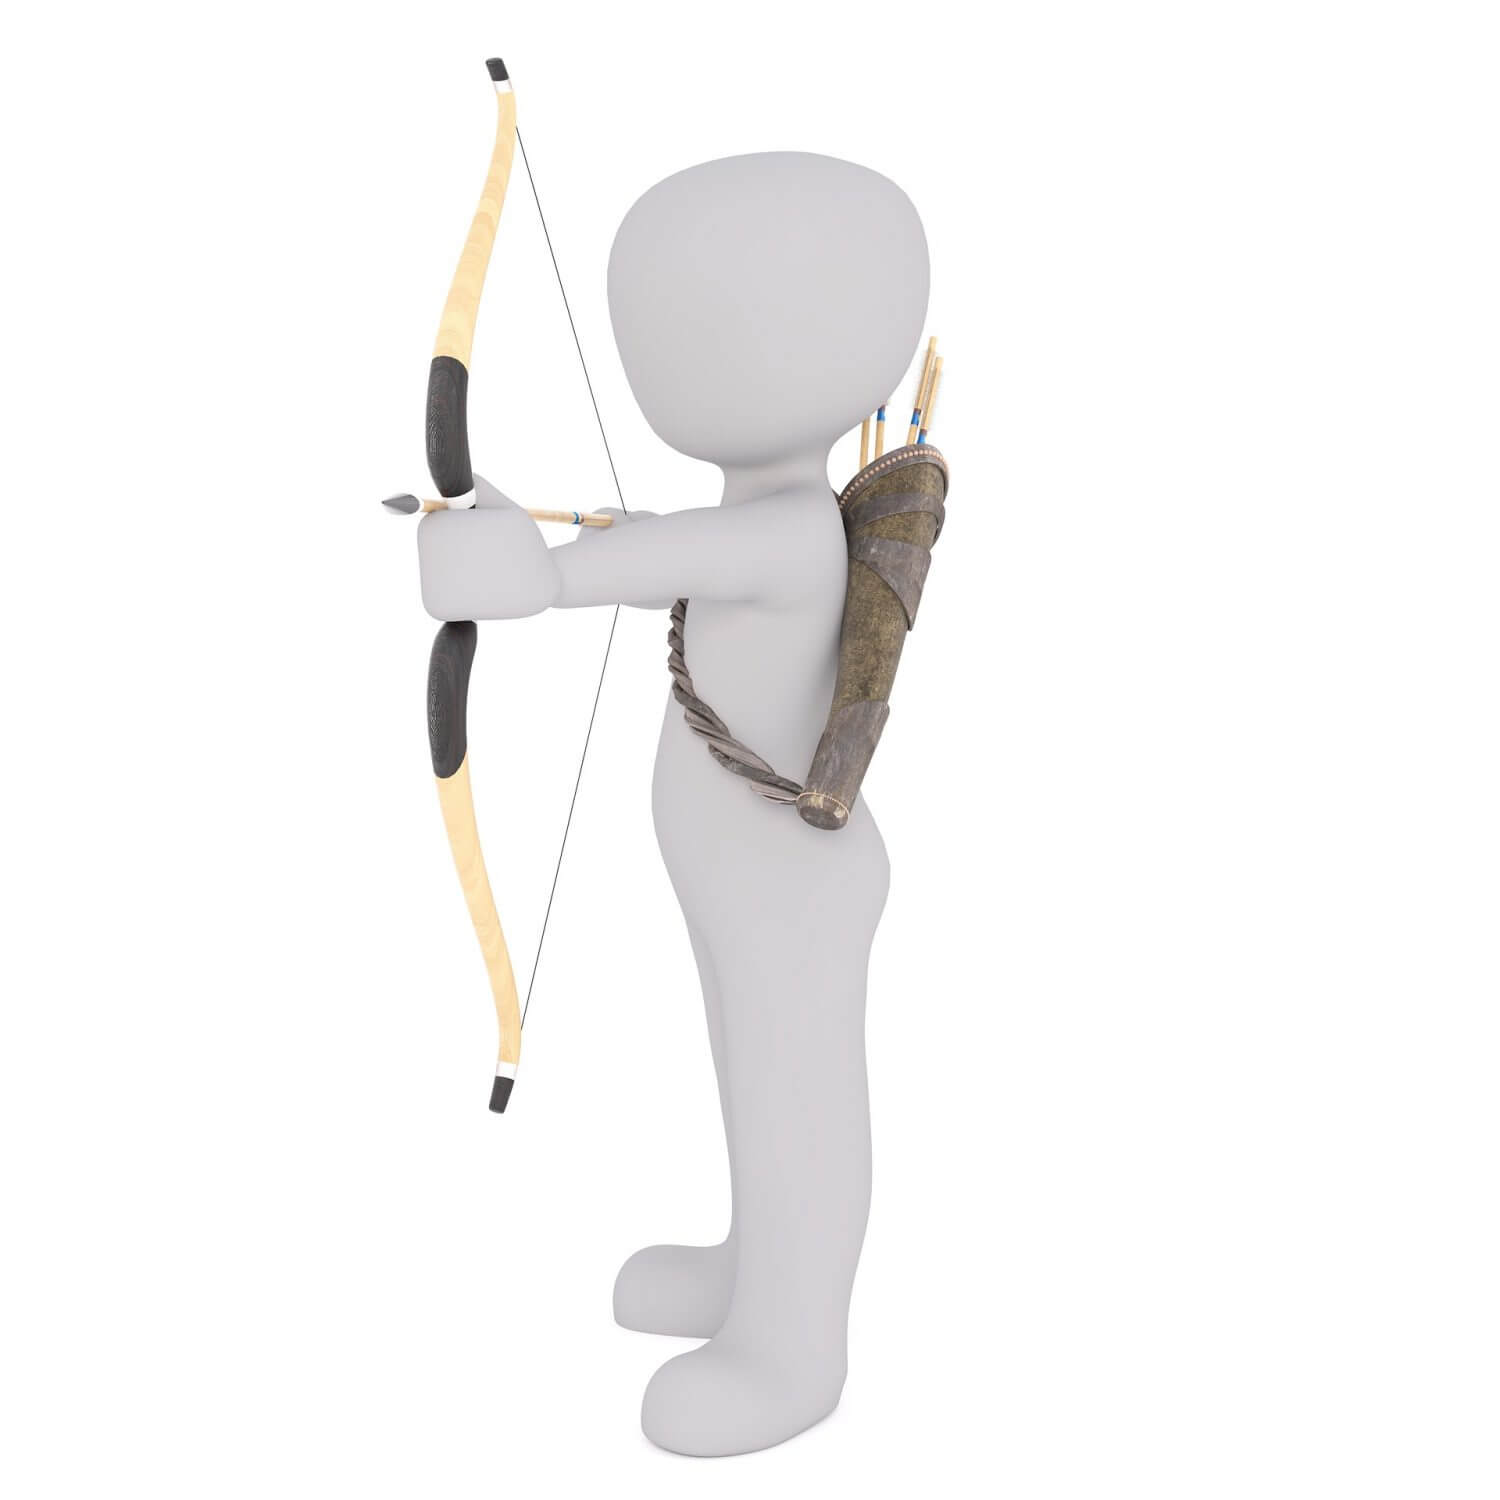
Nothing can replace skills and techniques when it comes to improving archery. However, none of them will be of help without proper physical fitness backing them up.
There are specially designed exercises that help you improve your fitness for archery. These archery drills are called Specific Physical Training, and consists of 4 exercises that improve your form and fitness.
Read: SPT – Specific Physical Training
SPECIFIC PHYSICAL TRAINING: Archery Drills
Specific Physical Training (or SPC for short) was devised by the current US Olympics coach for Archery, Kisik Lee. SPT focuses on four specific aspects of Archery. These are: Endurance, Strength, Flexibility, and Structure.
Why do exercise?

It is true that practice is a form of exercise itself. But like any other sport, you can train certain aspects of archery to better your form and muscle coordination out of the match conditions.
Focusing on individual components not only help you iron out issues in them, you also get a better exercise of those muscles. It helps in conditioning your muscles that supports your sport; archery in this case.
There are many general physical fitness videos and articles you may find with a casual search on Google or Youtube. However, the 4 exercises in these archery drills (SPC) are specifically designed for archery, hence provide more comprehensive results.
Related articles:
- How to shoot a compound bow and arrow within 1 hour
- How to become good at archery
- 15 Best Traditional Longbows for Hunting
- How to do archery for beginners
- Importance of archery form
- Why is stance important in archery?
Let’s take a closer look at each of them:
1. Endurance:
Endurance is your ability to keep doing something for a long period of time. That’s what we’ll train here. Your ability to endure the stress archery puts on your body.
It is basically a holding exercise. You basically hold your bow at full draw for a set duration, and then relax.
What it does is it trains your muscles to push a little bit every time, thus improving the muscles you use while doing the archery. Let’s look at the routine:

- Without nocking an arrow, draw the bow to the full draw with the proper technique, and hold that for 30 second to 1 minute. Now it is best to aim on something (like a target), otherwise you lose structure, form and you’ll tire yourself faster.
- Rest – Simply rest for double the time you hold. If you hold for 30s (seconds), then rest for 1m (minute). If you hold for 1m then rest for 2m.
- Now remember, rest is when your exercise takes full effect. That’s how muscles work. You contract, then you release. If you don’t contract enough, you won’t get good results. On the other hand if you don’t release for the proper duration, then not only you’ll get NO results of the exercise, you become prone to injuries as well.
- Start by doing this routine for 1-2 times (repetitions) in a session, and gradually increase it to 10 repetitions in a couple of weeks.
- Take a break of at least 2 minutes after you complete this exercise set (whether you are able to fit in 2 repetitions or 10 repetitions).
- If it starts becoming too easy for you, you can either increase the duration you hold, or you can increase the repetitions in a set. But don’t go over 1 minute and, for the sake of time try to keep it within 10 repetitions (10 repetitions of 30s hold and 1m rest equals to 15 minutes)
You can also increase the draw weight if things start becoming too easy for you. But under no circumstances over stretch yourself. Safety first. Listen to your body and if you find it too challenging then reduce the load either in draw weight, duration, or repetitions.
Read: The Archery Stance: First Things First
2. Strength:
This is very similar to your actual archery routine of drawing the bow, and then slowly taking your drawing hand towards the bow till the string is in its natural resting position.
This is an equivalent of dumbbell workout for your arms. It works on the same principle of contracting and relaxing your muscles.
So, the routine goes like this:
- First you draw your bow from setup position (natural rest position of the bow) with proper technique and come to the full draw. Then hold for 3-5 seconds.
- Then slowly take your hand back to setup position (please make sure to not release the string at any stage – never ever dry fire because it can damage your bow seriously)
- Then immediately go back to the full draw and repeat this process 5-10 times. This repetition of 5-10 times is a set.
- After a set, rest for 3-5 minutes.
- Do 3-5 sets of this exercise.
- Tip: Always maintain the correct form. Always have something to aim at. If you find yourself not able to maintain the correct stance and posture, take rest.
- Test out various combinations of repetitions and sets that suit you best.
- Don’t over stretch yourself. Again, it can lead to injuries and inferior results in long run.
You can do this exercise with exercise bands as well. There are gym equipments as well that produce the same effect.
But for an archer, bow is the best equipment they can use to do an exercise because it gives the best feel and right tension naturally.
Read: The 5 Minute Guide to Improving Archery Form
3. Flexibility:
This exercise is equivalent of traditional stretching, but designed specifically for archers. You basically stretch your muscles a bit more so that they can open up and become bit more limber.
This one you do with an arrow nocked on the bow. Also, always point to a target for safety purposes while doing this exercise so that even if the arrow gets released accidentally, no one gets hurt.
To do this:
- You first nock an arrow to your bow and go for a full draw.

- Then extend the draw gradually and continually for about 1-2 centimeters. This should take about 8-10 seconds.
- Then you bring back your arms (let down) to setup position of the bow, and take a rest of 30s before repeating the process again.
- Now this is a continuous exercise, as in, you continually keep pulling arrow back for 8-10 seconds. What you shouldn’t do is take it back 1-2 centimeters while you draw and holding it for 8-10 seconds. That defeats the purpose of making your muscles flexible.
- This can be a bit tricky and hard because you are stretching out of your comfort zone.
- You can do 6 repetitions and 5 sets of the exercise. With 30s break between each repetition, and 2m rest between each set.
4. Structure:
This is one of the most important exercise, especially for the beginners. This gives you a feel of the right muscle groups that you should use. It produces tension at the right areas of your body.
Keep them in mind and produce the same tension when you are drawing the bow next time, and you’ll see your archery improving a lot. But, this may look like a very strange exercise.
Here’s how you do it:
- Without nocking an arrow you take the bow, and draw it behind the head.

- What it essentially does is, it produces the right tension in your shoulders and in right back muscles.
- This will give you the exact idea of the muscles you need to engage at the right draw.
- It also tells you the right alignment of the shoulders should be for it.
- You can do this as a warm up activity. You will be able to feel tension to the right muscle group and activate them before you start your routine. It will also make your most important muscle groups for archery tender and limber thus reducing your injury and improving your performance.
Read: The 3 Best Stretches for Archery
Equipment Required
Ideally, using your own bow to do these exercises is highly recommended. Not only you will get more out of these exercises in terms of muscle conditioning, if you own a bow you don’t need anything extra to do them.
However, if you are not so inclined to use your own bow, or, you are using default equipment given by the club, you can also do these exercises with following options.
Exercise bands: you can either use generic bands like these, or you can check out some specialized bands designed for archery like this one. (See below)
Specialized exercise bows: Bands may not give you the same feel as a bow. If you can splurge a bit, you can check out archery trainer bows on Amazon designed specially for these exercises.
Conclusion:
Practice by itself is not training. Practice will improve your archery, but training will improve your fitness to:
- Practice better – by giving you endurance and strength to practice for extended period of time
- Shoot better – by building the right muscles, form and flexibility
That’s what professionals do. That is why apart from training, professional archers train their fitness, form, strength and flexibility.
If you are serious about your archery, have some form of training on a regular basis. In fact, basic strength training will also improve your archery because it increases your fitness.
But the exercises mentioned above are specifically designed for archery, so you’ll definitely get better results will them in a shorter period of time then other exercise routines.
If you follow this routine, you’ll notice a significant improvement in your game.
If you like this article, share it with your friends on Facebook, Twitter, Pinterest.
References:
- How to Have Proper Archery Form | Archery Lessons
- ARCHERY FORM – STANCE, GRIP, SHOT EXECUTION
- 5 GREAT STRENGTH AND CONDITIONING
EXERCISES FOR ARCHERY - These 7 Exercises For Archery Are Great To Improve Upper Body Strength

Hi, I’m Vineet. Creator of DivinioWorld. I am an outdoor enthusiast and absolutely love researching, learning, and applying skills and knowledge in the real world. I started DivinioWorld to share everything I know so that even a beginner can follow the ropes and master the subtle art of outdoors adventure and survival.
Thanks for sharing this information on archery training.
Archery is a sport, an art, and a form of meditation for me. As it often happens; life got in my way, and I stopped my archery practice. Now I want to return to it, so your article reminds me of the basic groundwork necessary before launching my first arrow at target,
I need to improve my aiming which tends to breakdown as I move backwards to extend my range from 18 yards. Is it all in my head?